
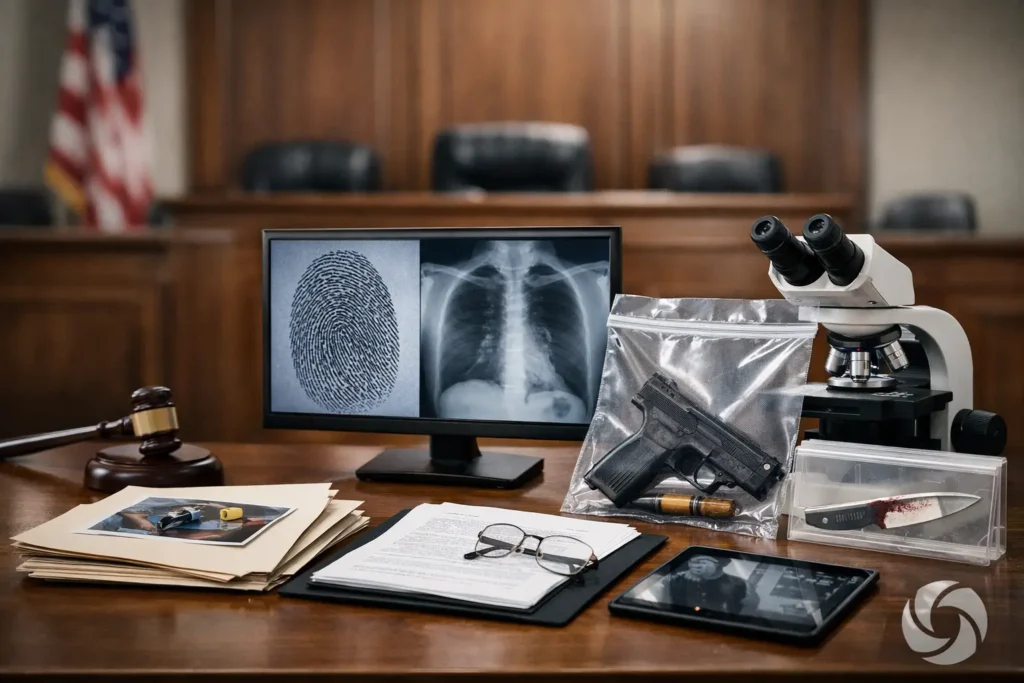
A strong exhibit can lose force in seconds if the jury cannot see it, the witness cannot explain it, or counsel has not laid the required foundation. The best ways to present evidence are not about making a case look flashy. They are about making each fact clear, admissible, and easy for the fact finder to retain.
For trial teams, presentation planning should begin well before the first day in court. The right format depends on the evidence, the witness, the judge’s procedures, available courtroom technology, and the purpose the evidence serves. A medical record, a surveillance clip, and a key deposition designation should not be handled the same way simply because each is an exhibit.
8 Best Ways to Present Evidence at Trial
1. Build every exhibit around one factual point
An exhibit should answer a question, not create one. Before placing an item on screen or handing it to a witness, identify the precise point it supports: notice, causation, timeline, damages, identity, or credibility. If the team cannot state that point in a sentence, the exhibit may need more preparation.
This discipline prevents the common problem of presenting a document that contains valuable information but leaves the jury searching for it. A long report may be essential to the record, but a properly cropped, highlighted, or called-out demonstrative can direct attention to the relevant language. The underlying exhibit still matters. The presentation simply gives the fact finder a usable path through it.
2. Establish foundation before the screen becomes the focus
Technology should support testimony, not outrun it. Before showing an exhibit, make sure the witness has identified it, explained how they recognize it, and provided the foundation required for its use. The sequence may vary by evidence type and courtroom practice, but the principle remains consistent: establish why the item is reliable before asking the jury to rely on it.
This is especially important with video, photographs, text messages, social media captures, and digital records. A polished presentation does not solve an authentication issue. It can also create an avoidable interruption if the court must pause while counsel works through matters that should have been anticipated during trial preparation.
3. Use video when seeing and hearing the evidence matters
Certain evidence is more persuasive when it is experienced rather than described. Video can preserve a witness’s tone, hesitation, physical condition, or demonstration in a way that a written transcript cannot fully convey. Deposition video is often valuable when a witness is unavailable, when designated testimony is central to a motion or trial issue, or when the jury needs to assess testimony directly.
The key is restraint. A lengthy video clip that repeats a point can dilute its impact and test the jury’s attention. Short, properly designated segments with clean edits, accurate captions when appropriate, and synchronized transcripts give counsel control over pace without changing the testimony itself.
For remote and hybrid proceedings, confirm in advance how video will be introduced and played. Audio levels, display permissions, screen-sharing procedures, and backup playback options should be tested before the presentation begins. A clip that cannot be heard clearly is not serving the case.
4. Synchronize deposition testimony with the transcript
Synchronized video and transcript presentation is one of the most practical ways to make deposition designations easier to follow. As the witness speaks, the corresponding text appears in time with the video. This allows jurors, the court, and counsel to follow technical language, names, dates, and qualifications without losing the witness’s delivery.
It also helps trial teams move efficiently between designations, objections, and follow-up exhibits. Instead of searching through pages of transcript while the courtroom waits, counsel can locate the intended passage quickly and present it in a consistent format.
Accuracy is nonnegotiable. Transcript synchronization, clip boundaries, exhibit references, and speaker identification should be reviewed closely before trial. A single mistimed word or omitted line can distract from otherwise effective evidence and create unnecessary questions about the presentation.
5. Make timelines visible and specific
Many liability and damages disputes turn on sequence. What happened first, who knew what, how long a condition existed, and what occurred after a decision was made can be difficult to hold in memory across several days of testimony.
A timeline can organize those facts, but it must remain faithful to the evidentiary record. Use dates, times, locations, and source references that can be tied back to admitted evidence. Avoid loading the display with argument disguised as fact. A clean timeline is most useful when it helps the jury connect testimony, records, photographs, and video into an understandable order.
Timelines are particularly effective in accident cases, premises matters, medical chronology, employment disputes, and any case involving notice or delay. They are less useful when the dispute is primarily about interpretation rather than sequence. In those cases, a focused document callout or testimony comparison may be stronger.
6. Prepare demonstratives that clarify rather than advocate too aggressively
Demonstrative exhibits can explain complex evidence, including accident mechanics, medical treatment, property layouts, and document-heavy transactions. Their value is practical: they help the jury understand relationships that are difficult to explain through words alone.
But demonstratives require care. They may be subject to disclosure requirements, objections, limiting instructions, or a court’s preference regarding use. A presentation that overstates a conclusion, uses loaded labels, or departs from the record can invite challenge and reduce credibility.
The strongest demonstratives are visually simple. They use readable type, logical labels, and enough context to orient the viewer without turning the screen into a closing argument. When a diagram or animation is used, make clear whether it is an illustration of testimony, a reconstruction based on identified inputs, or another form of demonstrative support.
7. Design for the actual courtroom, not the conference room
A presentation that looks excellent on a laptop may fail in court. Courtrooms differ in screen size, projector brightness, audio quality, sightlines, internet access, and the location of counsel tables. Jurors seated at different angles may not be able to read small text or distinguish subtle colors.
Use large type, high contrast, and uncluttered layouts. Do not rely only on color to communicate a distinction. If an image requires a detailed explanation to be understood, consider a zoomed-in version or a sequence of simpler images. For video, confirm that the playback system produces clear sound throughout the jury box.
A pretrial technology check is one of the most valuable steps a legal team can take. It should include the courtroom’s available equipment, file compatibility, remote witness connections if applicable, and a backup plan for every critical item. Court deadlines do not allow much room for last-minute conversion problems or missing cables.
8. Control the pace and give the jury time to absorb the proof
Evidence presentation has a rhythm. Moving too quickly can make strong proof feel scattered. Moving too slowly can make even relevant material feel repetitive. Counsel should pause after a key exhibit, allow the witness to explain it, and let the jury look before moving to the next point.
This is particularly important with medical imaging, financial records, video footage, and complex diagrams. Present the broad view first, then narrow the focus. A jury that understands where it is looking is more likely to understand why the detail matters.
The same principle applies to edited deposition clips. Give a brief orientation when needed, play the relevant designation, and then connect it to the issue before shifting to another exhibit. The objective is not to fill every moment. It is to make the important moments land.
Presentation Preparation Is Part of Trial Strategy
The best ways to present evidence combine legal preparation with technical execution. Trial counsel determines the theory, foundation, and admissibility strategy. Experienced legal video support helps ensure that video depositions, synchronized transcripts, edited clips, and courtroom playback are prepared accurately and function when they are needed.
For Seattle-area legal teams, Royal Video Productions supports these time-sensitive presentation needs with specialized legal video experience and courtroom-ready deliverables. The work is most effective when production planning begins early enough to allow careful review, revisions, and testing before trial.
A clear exhibit does more than look organized. It respects the jury’s time, supports the witness’s testimony, and gives the court a reliable record to work from. When each piece of evidence is prepared to be seen, heard, and understood, the presentation can stay focused where it belongs: on the facts that matter.