
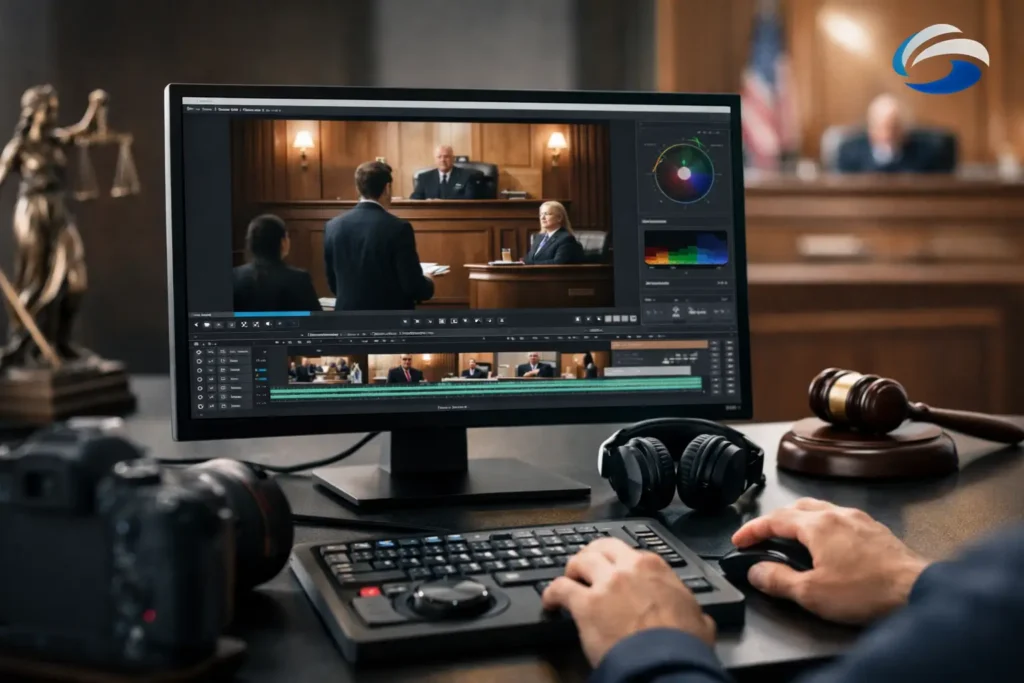
If you are figuring out how to edit trial video, the first question is not which software to open. It is what the court, the judge, and your trial team need the video to do. Trial video is not promotional content or a highlight reel. It has to be accurate, easy to present, and prepared in a way that supports your case theory without creating avoidable objections or playback problems.
That distinction matters because legal video editing is part technical work, part litigation support. A clean cut is only useful if the testimony remains faithful to the record, the transcript sync is correct, and the final file plays reliably when it matters. The best edited trial video helps attorneys stay focused on argument and presentation instead of troubleshooting at counsel table.
How to edit trial video with the end use in mind
Before any edit begins, define the purpose of the video. A clip for mediation may need a different structure than a clip package for impeachment, a designated deposition for trial, or a day-in-the-life presentation. Each use affects pacing, labeling, exhibit treatment, and the level of polish required.
Start by confirming the intended venue and playback environment. A courtroom setup, a hearing room, and a hybrid proceeding all introduce different constraints. File format, audio level, screen readability, and cueing become more important when there is limited time and no tolerance for delays.
Just as important, identify who is making content decisions. In some matters, lead counsel wants to approve every cut. In others, a paralegal or trial technician handles designations and sequencing. A smoother process comes from knowing early who signs off on excerpt selections, exhibit callouts, and transcript language.
Build the edit from the official record
The safest way to approach trial video editing is to treat the official transcript as your foundation. If there is a synchronized transcript available, use it. That lets you pull designated testimony precisely and maintain alignment between what is said on screen and what appears in the record.
This is where many non-legal editors get into trouble. They may know how to trim footage, but trial work requires discipline around testimony boundaries, objections, colloquy, and rulings. A clip that looks clean to a general editor can still be unusable if it includes material that should have been removed or if it cuts in a way that alters context.
When selecting testimony, work from attorney designations and counter-designations, then confirm them against the synced media. Double-check every start and stop point. Small errors compound quickly, especially when multiple witnesses, objections, and exhibit references are involved.
Preserve meaning, not just timing
A technically precise cut can still create a practical problem if it strips away enough context to make testimony sound incomplete or misleading. That is why trial edits need legal judgment as well as editorial control. Sometimes a slightly longer segment is the right choice because it protects clarity and reduces the risk of dispute over presentation.
This is also why speed should never replace verification. Fast turnaround matters in litigation, but accuracy is the standard that protects the work.
Clean up only what should be cleaned up
Attorneys often ask whether trial video should be polished aggressively. The answer depends on the purpose of the clip and the source footage. Basic corrections such as balancing audio, trimming dead space, normalizing levels, or improving readability are usually appropriate. But editorial changes should never make the testimony appear altered in substance.
That line is especially important with deposition footage. Removing long pauses can help pacing in some settings, but if timing affects how an answer is understood, restraint is the better choice. The same goes for reaction shots, camera changes, and visual enhancements. In legal video, clarity comes first and style stays in the background.
If the witness references an exhibit, make sure the exhibit treatment is consistent and legible. Sometimes a picture-in-picture layout helps the fact finder follow the testimony. Other times, a full-screen exhibit insert is clearer. It depends on the complexity of the document, the screen size in the room, and whether the spoken testimony needs the witness visible at the same time.
Handle objections, designations, and redactions carefully
One of the most important parts of how to edit trial video is managing objections and rulings correctly. This is where courtroom-ready editing separates itself from basic media production. If there are sustained objections, excluded topics, sealed content, or references the court has barred, those portions must be removed cleanly and completely.
That means checking both audio and visual content. A redaction is not complete if the witness name is removed from the spoken line but still appears on a lower-third, exhibit label, or transcript overlay. The same applies to confidential material embedded in a document shown on screen.
Transitions matter here. Redactions should be smooth enough to avoid distracting playback, but not so stylized that they draw unnecessary attention. Straightforward cuts are usually best. If the removal creates a visual jump, that is acceptable as long as the legal requirement is met and the result remains understandable.
Keep a versioning system
Trial edits often go through multiple rounds. A proposed clip set may change after motion rulings, meet-and-confer discussions, or final pretrial orders. Maintain clear file names and version control from the start. Nothing wastes preparation time faster than uncertainty about which witness package reflects the final ruling.
A practical naming system should identify the witness, date, designation status, and version number. That helps legal teams review efficiently and reduces the chance of bringing the wrong file into court.
Transcript sync and on-screen text need special attention
Transcript synchronization is one of the most valuable tools in legal video, but only when it is done correctly. If the spoken testimony and highlighted text drift apart, confidence in the presentation drops immediately. Judges and juries notice these issues, and so do opposing counsel.
Review sync line by line in each excerpt, especially around objections, interruptions, and accelerated speech. If there are unusual pronunciations, overlapping voices, or interpreter involvement, expect more adjustment work. This is not glamorous editing, but it is essential.
On-screen text should also be restrained and functional. Labels, witness identifiers, date stamps, and exhibit references need to be readable from the back of a courtroom or on a less-than-ideal display. Fancy motion graphics are unnecessary. Plain, consistent formatting serves trial presentation better.
Test the final video the way it will actually be used
A file that looks fine in the edit suite can still fail in court. That is why playback testing is not optional. Export the video in a format suited to the intended presentation system, then test it on the hardware that will be used if possible. Audio compatibility, codec issues, and resolution mismatches are common sources of last-minute trouble.
Check the beginning and end of every clip. Confirm that the audio comes up immediately, that there is no black screen delay, and that cue points are easy to locate. If the clips will be used during cross-examination or impeachment, fast access matters as much as image quality.
There is always a trade-off between maximum visual quality and maximum playback reliability. In many trial settings, reliability should win. A slightly less compressed file may look better, but if it strains the playback system, it is not the better choice.
Why legal teams often outsource trial video editing
Trial video editing sounds straightforward until deadlines tighten and rulings start changing by the hour. At that point, legal-specific experience matters. Editors who work regularly in litigation understand deposition structure, exhibit handling, transcript sync, evidentiary redactions, and the pressure of court schedules.
That experience reduces supervision for attorneys and paralegals. Instead of explaining basic legal workflow, the team can focus on strategy, witness preparation, and argument. A specialized provider is also more likely to spot practical issues early, such as a transcript mismatch, a weak exhibit view, or a clip sequence that will be difficult to present cleanly.
For Seattle-area firms preparing time-sensitive litigation materials, that kind of support can make trial prep more controlled and less reactive. Royal Video Productions has built its work around exactly that reality – accurate legal video, dependable turnaround, and courtroom-ready deliverables that hold up under pressure.
The standard is simple
Good trial video editing does not call attention to itself. It lets the testimony land clearly, supports the record, and works the first time you press play. If your edit helps the legal team present with confidence and avoids needless disputes over format or accuracy, it is doing its job.
When you are deciding how to edit trial video, think less like a marketer and more like trial support. The goal is not flash. The goal is a clear, correct presentation that helps your case move forward when every minute counts.